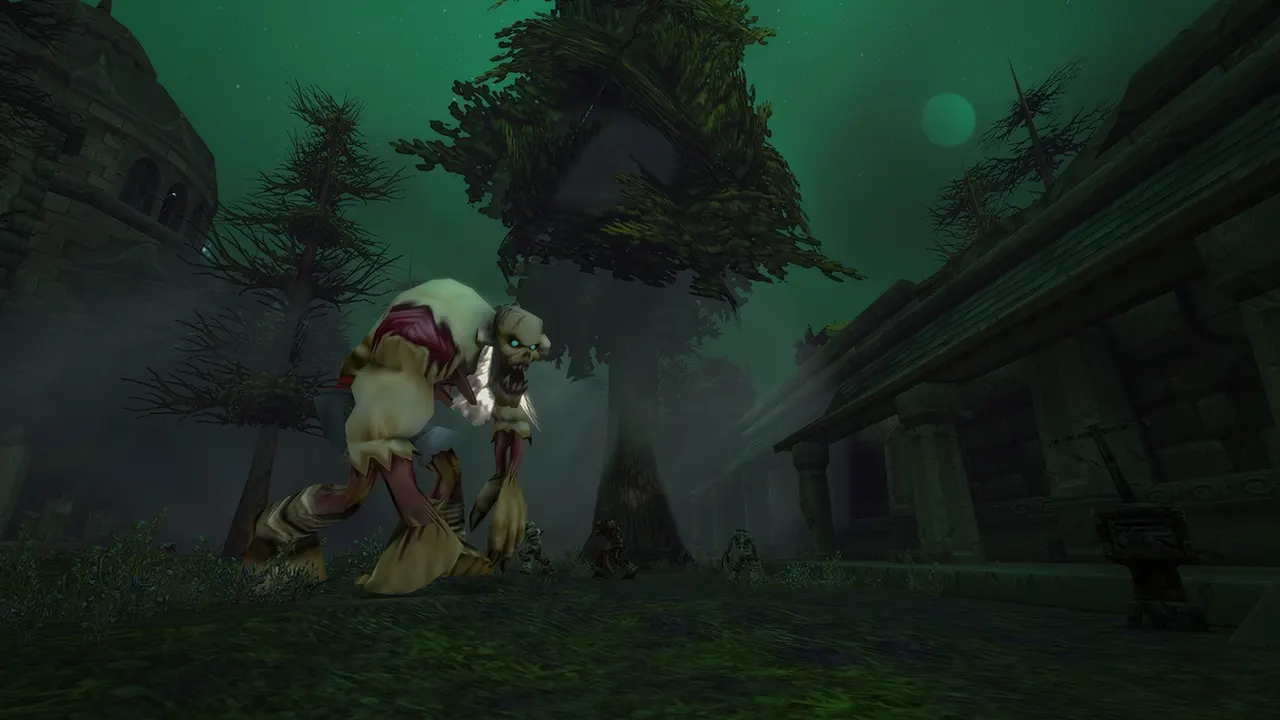
Why a smaller fight can be a better fight
Blizzard describes Forever dungeons as tactical encounters where crowd control and careful threat management matter. Its Deep Dive explicitly mentions Polymorph, Banish, Fear and Root as useful tools. The workflow below is editorial advice for applying that approach, rather than a tested route through a particular dungeon.
Treat a pull as a problem to solve together. Before fighting several enemies, identify what the group can safely handle and what it wants to leave out of the opening exchange. A clean fight with a recovery break is often more useful for learning than an ambitious pull nobody understands.
Name the first target before combat
Ask the leader to identify the first enemy to defeat and the enemy, if any, that should remain controlled. Agree which player owns the control assignment. A simple message such as “focus the marked caster; leave the second mark alone” removes several opportunities for confusion.
Check your target before using an ability. If two enemies look similar, confirm the mark or name instead of assuming that everyone selected the same one. When the first target dies, follow the announced next target rather than choosing the nearest creature automatically.
Give the opening a deliberate order
Agree whether the tank starts the pull or a player applies control first. The correct sequence depends on the group and tools available; do not begin just because you are in range. Wait for an explicit ready signal if someone is explaining the plan.
Once combat begins, avoid launching your largest attack before the tank has engaged the intended target. If the situation changes, reduce your offensive pace while the tank gathers enemies. Damage is useful when it supports a stable fight, not when it turns every enemy toward a different player.
Protect the control assignment
Read your own control ability's tooltip for target restrictions, duration and what can end it. Check nearby enemies before using attacks that affect an area. A wide attack is a poor choice if it risks disrupting the group's agreed control plan.
Keep communicating: say when control fails, when you cannot reapply it, or when the assigned creature becomes active. Do not silently switch assignments. If your ability moves enemies or makes them flee, discuss the surrounding space first; unfamiliar terrain gives a small mistake more room to grow.
Recover when an enemy changes target
If an enemy turns toward you, announce it and follow the tank's instructions. Avoid fleeing into unexplored space or crossing another group of enemies. Move toward a position the tank can reach safely when that is practical, and use an appropriate defensive tool you understand.
The healer cannot fix every uncontrolled situation by healing harder. Pause unnecessary damage, restore a shared target order and let the tank re-establish the fight. If recovery is impossible, follow the group's agreed reset or defeat plan rather than improvising in different directions.
Debrief one pull, then improve one habit
After a difficult pack, answer three questions: did everyone attack the same target, did control stay intact, and did the group start before everyone was ready? Choose one correction for the next attempt. Avoid changing five things at once.
Practise on a manageable pack before increasing the pace. Your success measure is a repeatable, understandable pull with clear communication. Boss mechanics, creature immunities and exact threat thresholds require encounter-specific information; this guide does not substitute for those details.